The ability to restrict users from seeing specific general ledger entries can be done using permission set filtering in Dynamics 365 Business Central. As an example, you do not want certain users to see the entries related to payroll since payroll is highly sensitive data.
This blog will walk you through the steps to set up permission set filtering to restrict users from seeing payroll-specific general ledger entries.
In this example, the client wants to restrict certain users from viewing transactions on G/L accounts 61000 through 61999, which are the payroll accounts. Outlined below are the steps on how to do this with permission set filtering in Business Central.
STEP 1
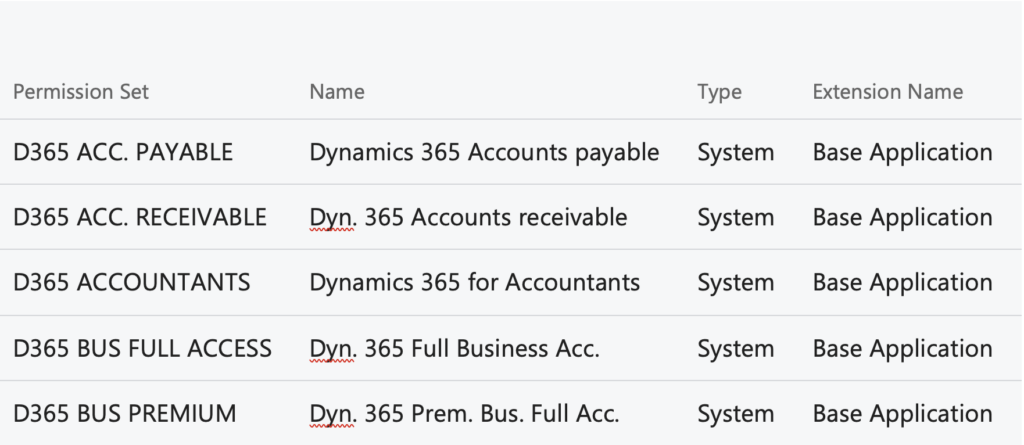
Make a copy of the primary permission set that is currently assigned to a user and allows access to read general ledger entries. Most of the out-of-the-box, accounting-related permission sets provide access to view general ledger entries, including the ones below:

In this example, users are currently assigned the permission set D365 BUS FULL ACCESS. To make a copy of this permission set, follow these five steps:
- Search and Select Permission Sets.
- Highlight the D365 FULL ACCESS permission set.
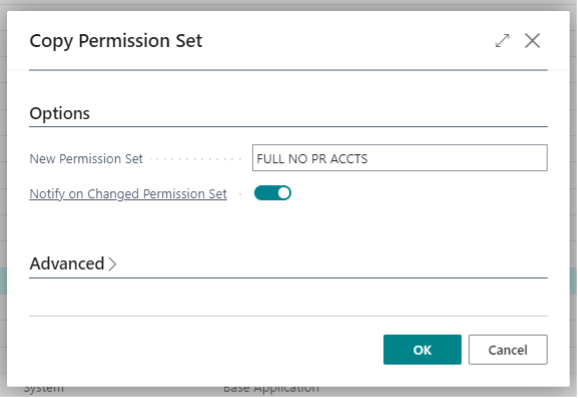
- Select Copy Permission Set.
- Enter the New Permission Set name (example FULL NO PR ACCTS).
- Select OK.

STEP 2
Edit the permission sets and set a filter on the general ledger entries table to exclude accounts 61000 to 61999. The steps for this process are as follows:
- Highlight the new permission set.
- Select Permissions.
- Table 17 is G/L Entry – Highlight table 17.
- Select the three dots next to security filter to open the security filter window.
- Enter field number 3, which is the G/L Account field.
- Enter the field filter to exclude payroll accounts. Use the standard Business Central Filter rules. Here are a couple of examples that can be used so that the user is not able to view any payroll general ledger entries:
- <>61*
- 10000..60999|62000..99999

STEP 3
Update the user permission sets in Dynamics 365 Business Central, removing the current permission set and adding the new permission set. This is a four-step process:
- Search and Select Users.
- In the example below, delete the D365 FULL ACCESS permission set.
- Add the new permission set FULL NO PR ACCTS.
- If a user has SUPER, this overrides the new permission set so SUPER also needs to be deleted for the new permission to work.

STEP 4
Validate that the new permission set is working. When viewing the general ledger entries, no transactions for accounts 61000 through 61999 should display. When accessing the chart of accounts, these accounts will not show any balances and will not drill back to the transactions.
Now you have successfully set up your permission set filter in Dynamics 365 Business Central.


