
This post was updated in August 2024.
Drop shipments are a great feature within Microsoft Dynamics 365 Business Central. You can put in an order with a supplier, have it shipped to the customer and track it all within one centralized system. But what happens when you need to undo a drop shipment in Business Central?
Because drop shipments on Sales Orders are linked to a Purchase Order, they can’t be undone in the same way that traditional Sales Shipments are. When we try to use the Undo Shipment function on a Posted Sales Shipment, we get the following error message:
“Drop Shipment must be equal to ‘No’ in Sales Shipment Line: Document No.=S-SHPT102233, Line No.=10000. Current value is ‘Yes’.”
So how do we undo a drop shipment in Dynamics 365 Business Central? Here are the steps you need to follow, depending on where you are in the process:
Step 1
When the sales order line is shipped but not yet invoiced you will need to complete the process and Invoice the shipped quantity on the mis-shipped Sales Order (SO) line to create the posted sales invoice.
Step 2
When the purchase order line is received but not yet invoiced you will need to complete the process and Invoice the received quantity on the mis-received Purchase Order (PO) line to create the posted purchase invoice.
Step 3: Create a Sales Return Order
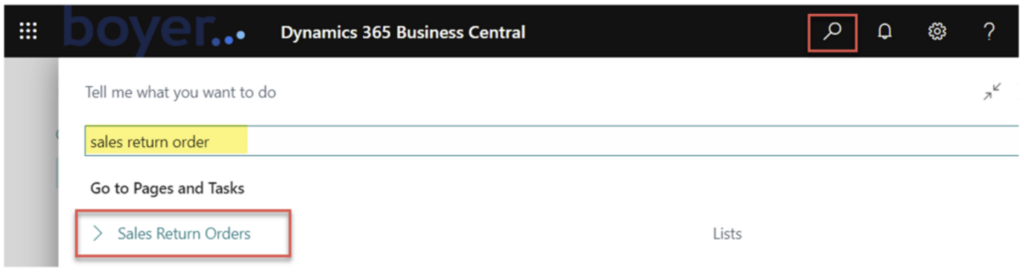
From your global search, type in Sales Return Orders and click on the corresponding link.
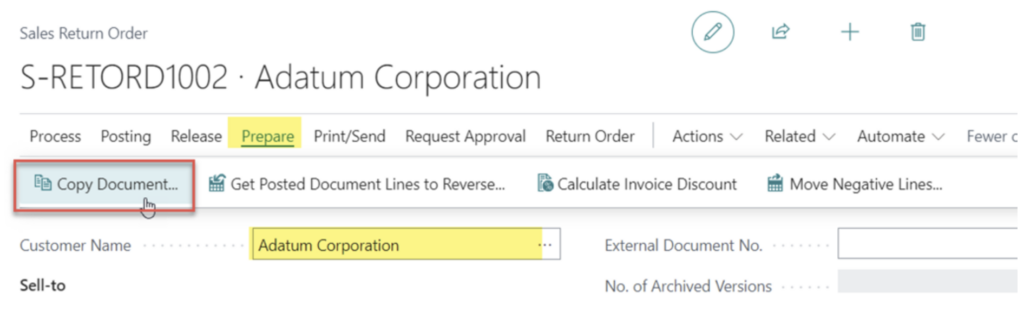
From the Sales Return Order list, click on “New.” Select the Customer and then click on Prepare > Copy Document.
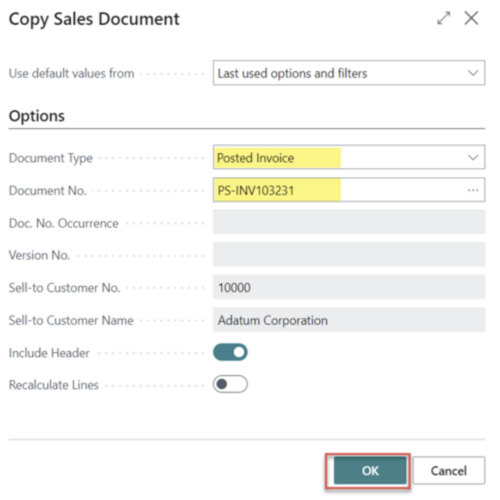
Select a Document Type of Posted Invoice and enter your Posted Sales Invoice number in the Document No. field. Then click “OK.”
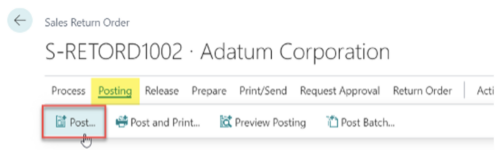
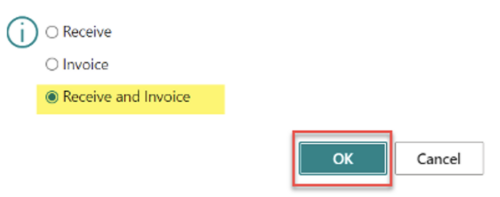
The Sales Invoice will be copied into the Sales Return Order. Review your header and line information and post the Sales Return Order using the Receive and Invoice option.
Once the posting has been completed, the G/L Entries and Item Ledger Entries will be reflected.
Step 4: Create a Purchase Return Order
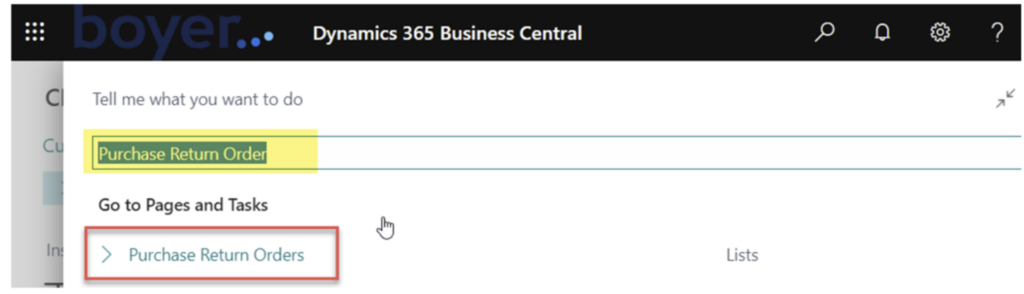
From your global search, type in Purchase Return Orders and click on the corresponding link.
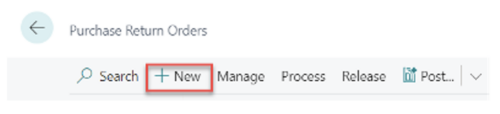
From the Purchase Return Order list, click on “New.”
Select a Vendor and then click on Prepare > Copy Document.
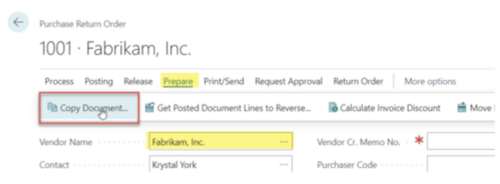
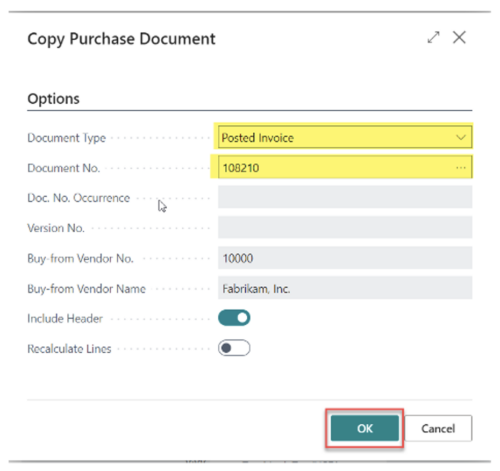
Select a Document Type of Posted Invoice and enter your Posted Purchase Invoice number in the Document No. field. Then click “OK.”
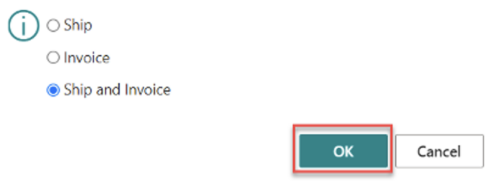
The Purchase Invoice will be copied into the Purchase Return Order. Review your header and line information and post the Purchase Return Order using the Ship and Invoice option.
Once the posting has been completed, the G/L Entries and Item Ledger Entries will be reflected.
Step 5
Go back to the original Sales Order and enter in a line that contains the original mis-shipped qty and mark the line DROPSHIP. (Note If original SO Is gone, create a new SO with the Original SO# and possibly add a -A at the end of the number)
Step 6
Go back to the original Purchase Order:
- Clear vendor invoice number to be blank
- In the ribbon go to Actions > Functions > Drop Shipment > Get Sales Order
- Choose the original SO from list.
- (Note If original PO Is gone, create a new PO with the Original PO# and possibly add a -A at the end of the number)
Both orders are now available for shipments and receipts for original qtys that were mis-shipped and mis-received.
Follow our blog for additional tips and tricks on working within Dynamics 365 Business Central for manufacturing and distribution.