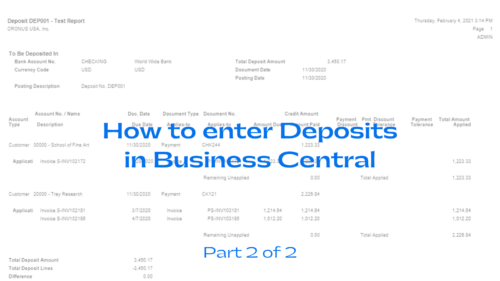
Are you wondering how to enter a deposit in Business Central? This blog will walk you through that process as well as how to issue a refund.
This is part two of a blog focused on clearing up confusion around Accounts Receivable in Microsoft Dynamics 365 Business Central. Go back to part one to review how to register Customer Payments and post Cash Receipts in the cloud ERP. In this blog we will show you how to enter Deposits and process Refunds in Business Central.
How to Enter Deposits in Dynamics 365 Business Central
Using Deposits is another way to enter payments received. For the longest time this was my preferred method. Now I fluctuate between this and the Cash Receipt Journal process outlined in part one of this blog. They both do the same thing.
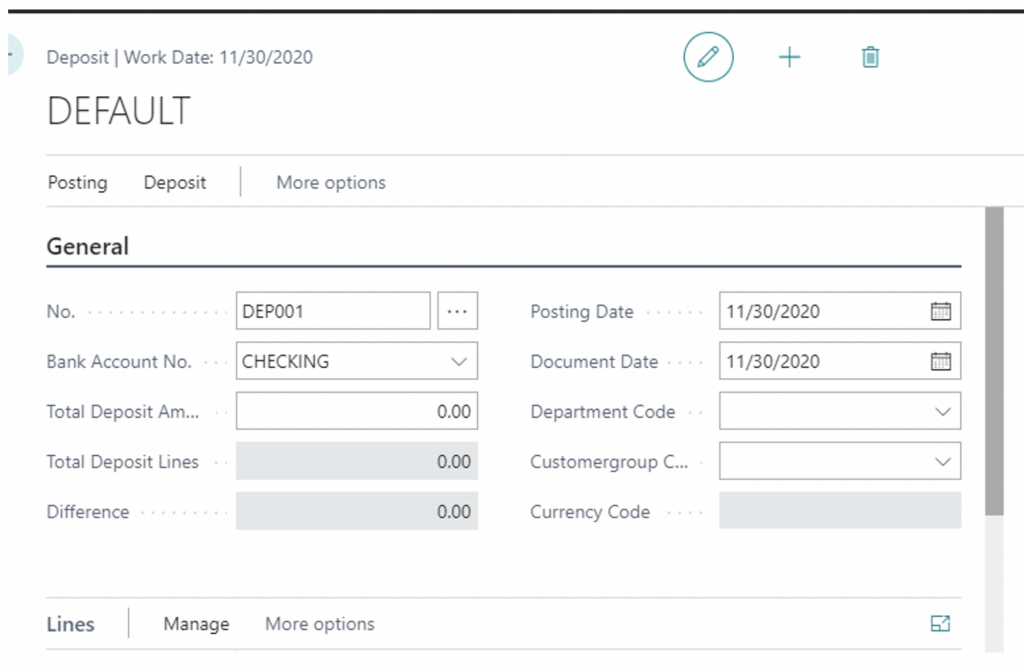
To begin entering a deposit in Business Central, type “deposit” in the main search bar of Business Central and click “New.” Enter the following information:
- No: Press enter to assign a Deposit Number or, if allowed, enter a Deposit Number
- Bank Account No: Enter the Bank Account No
- Total Deposit Amount: If you know it you can enter it here, but if not leave it blank till the end.
- Posting Date: Enter the Posting Date
Now you are ready to enter the lines. In the Line section enter the following:
- Account Type: Choose Customer
- Account No: Choose the customer number
- Document No: Enter the check #
- Credit Amount: Enter the amount of the check if you know it
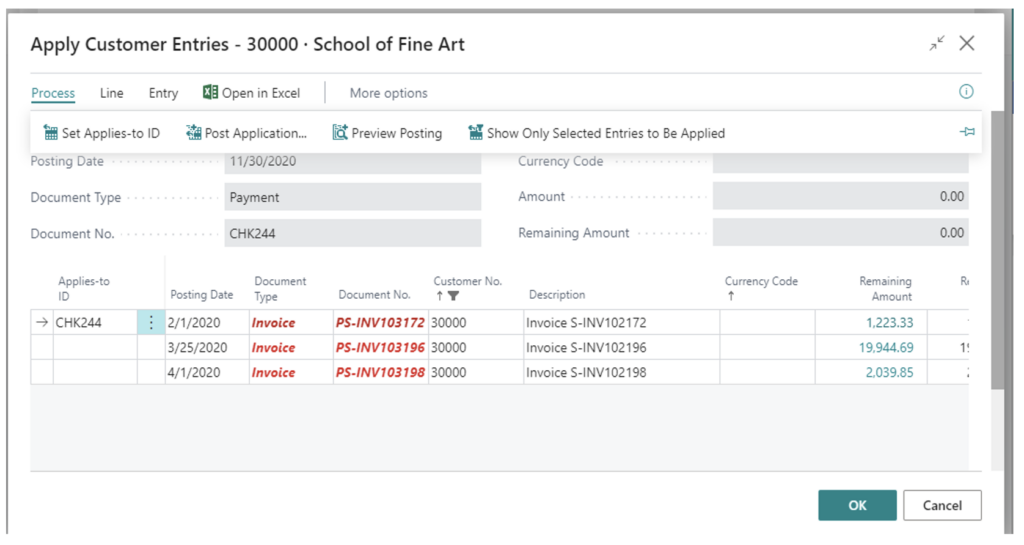
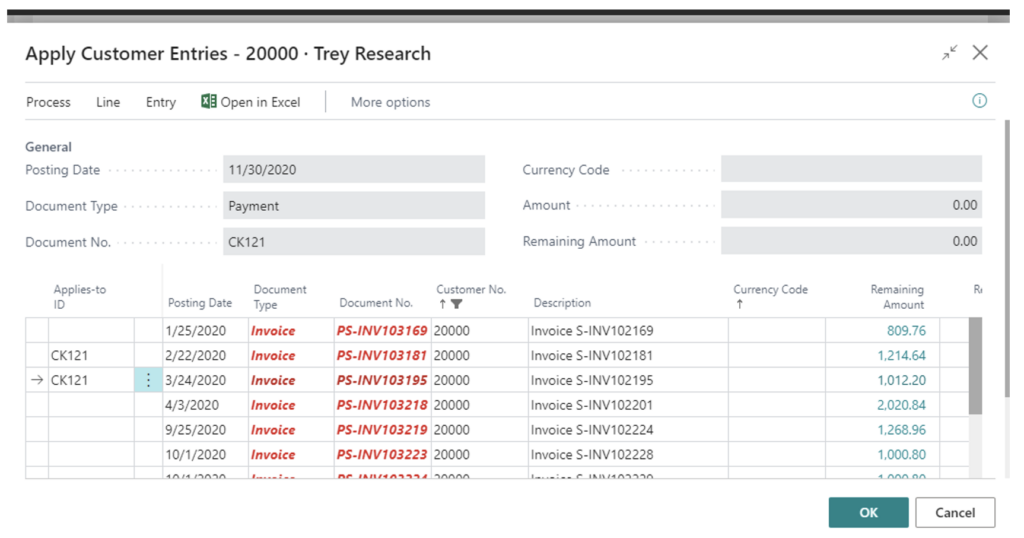
While still in the Line section, choose “Functions” and then click on “apply entries.” The apply entries page will appear, and you can highlight the invoice you want to pay.
On the ribbon in the Apply Customer Entries page, click “set applies to ID” and then click “OK.” The amount will default in the credit field as shown below.
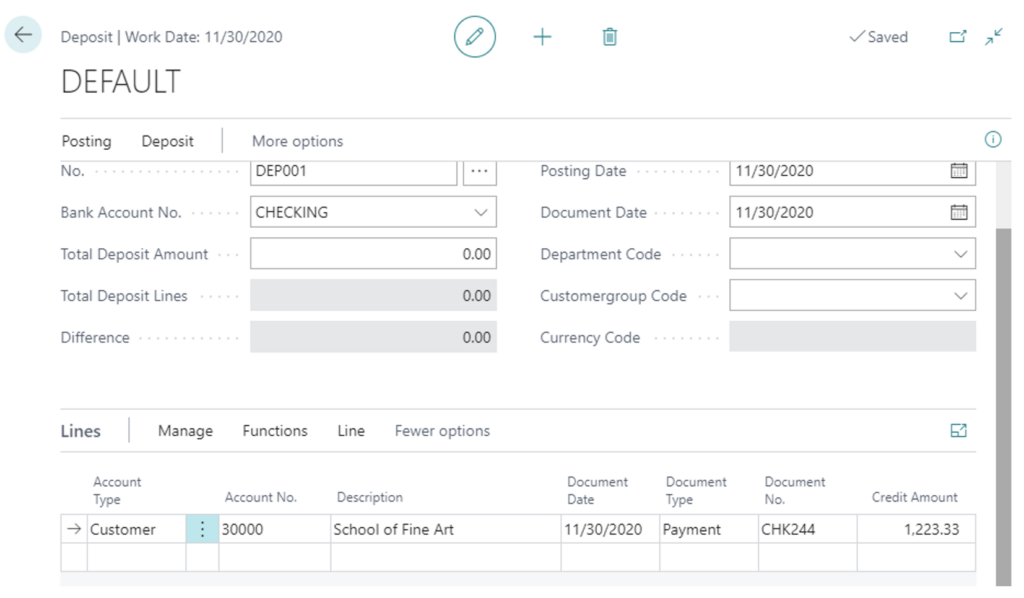
Repeat the same process for any additional customer payments that you want to include in this deposit.
As you can see in our example, we now have two entries on this deposit ticket:
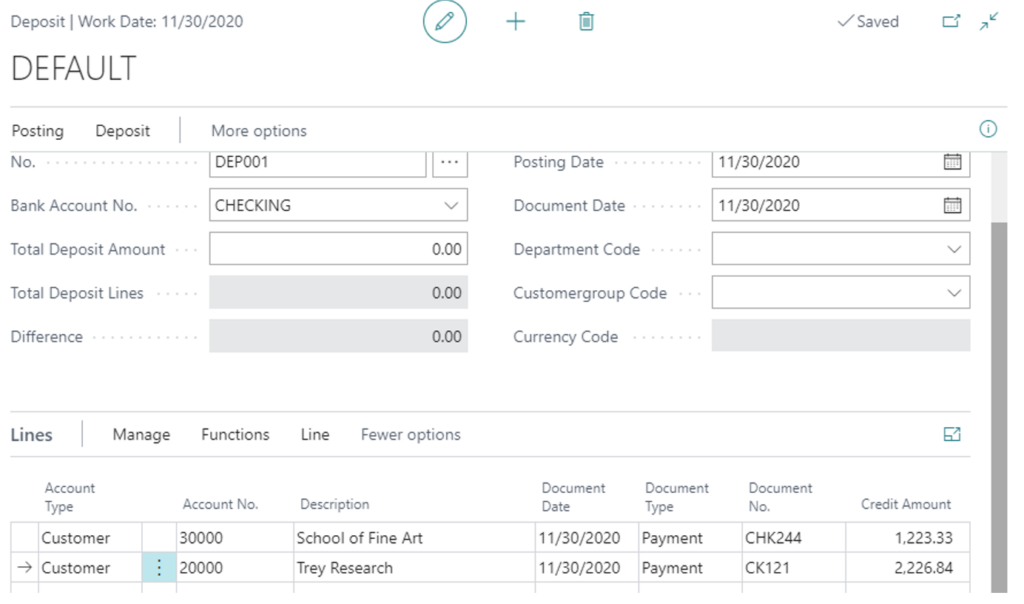
Press “F5” to refresh the page, and the system will calculate the lines and populate the Total Deposit Lines field. If you agree with the total, then enter that in the Total Deposit Amount field so the difference = 0.00. (Note: You might need to hit F5 to refresh the page again.)
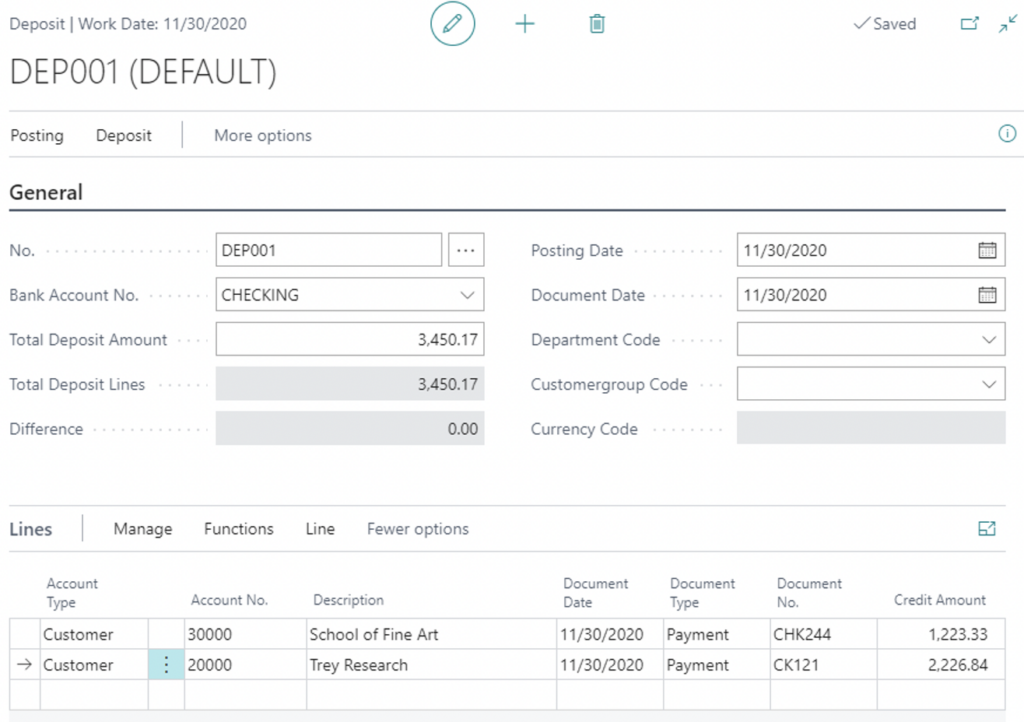
You are now ready to post. Click “Posting” and then either “Post” or “Post and Print.”
If you’re still trying to decide which process will work best for you, you should know that there are a couple of advantages to using the Deposit method:
First, you can do a Test Report. Click “Posting” and then “Test Report.”
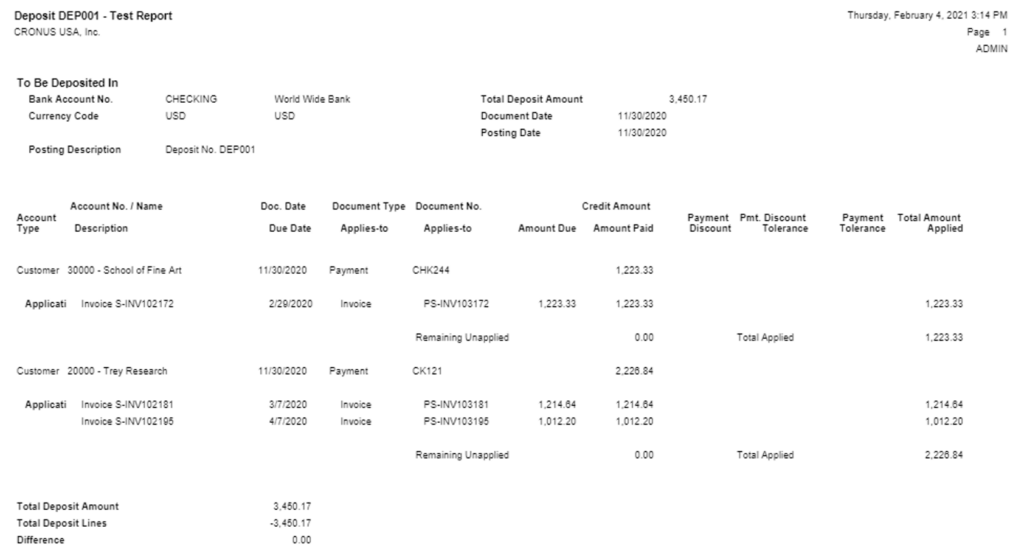
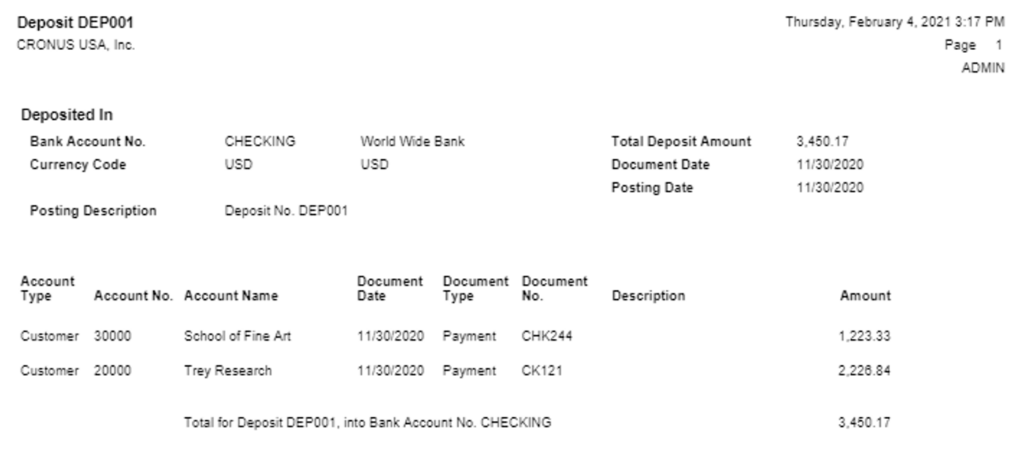
Second, once the deposit is posted, the system will generate a Posted Deposit Report that you can send out as needed. Type “posted deposits” in the main search bar. Choose the deposit you want and click “Print” and then either “Preview” or “Send to” if you want to email the report.
How to Process a Refund in Dynamics 365 Business Central
You might at some point have to process a refund to a Customer. This doesn’t happen often, but we did use this feature recently when one of our Business Central users came across an overpayment on their Customer Ledger. Someone had entered the wrong amount in the cash receipt, so they had a payment with a remaining amount of $10. By entering a refund and then applying that refund against the payment, we were able to correct both the Customer Ledger and the Bank Ledger.
The assumption here is that a credit exists on the Customer Account, whether that be a credit memo or an overpayment. Here’s how to fix it. First type “payment journal” in the main search bar and enter the following information in the Payment Journal page that pops up:
- Posting Date: Enter a posting date
- Document Type: Choose = Refund
- Document No: Enter a document number
- Account Type: Choose Customer
- Account No: Choose the Customer Number
- Amount: Enter a Positive Number
- Bal Account: Choose Bank Account
- Bal Account number: Choose the Bank Account Number
- Bank Payment Type: Computer Check
On the Ribbon, click “Post/Print” and then “Post.”

Tip: You can enter a refund amount on the customer account and not print a check simply by not choosing a bank payment type and not applying it to an entry. It will remain on the Customer Ledger Entry until you process it. Then at some point later you can apply that refund to a document.
We hope this has helped clear up confusion on entering deposits in Business Central and issuing refunds. If you need more assistance within Accounts Receivable, feel free to contact us.


