Every month you are required to run numerous month-end reports in your ERP system. How would you like to come to work on the day those reports are due and have all the reports done and waiting for you? If you like that idea, this blog will show you how to automate those monthly reports in Microsoft Dynamics 365 Business Central.
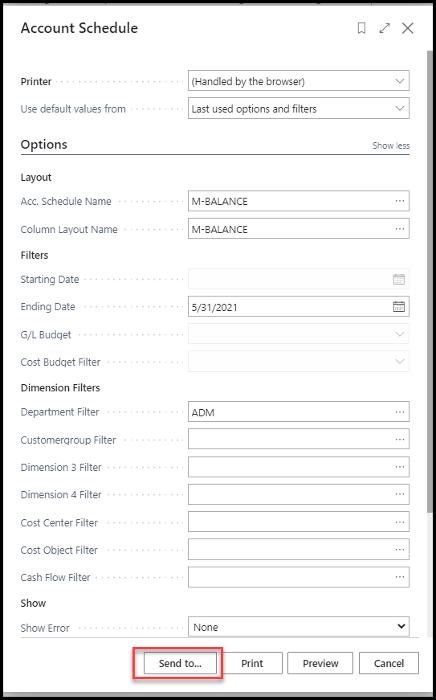
As you normally do when you’re running a report manually, navigate to the Report Request screen for your report and fill out the criteria you typically use to run that report. Once that is completed, click the “Send To” button at the bottom of the report request.
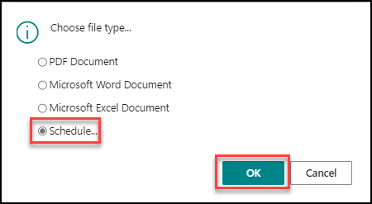
When the Choose File Type box opens, click the “Schedule button” and then click “OK.”
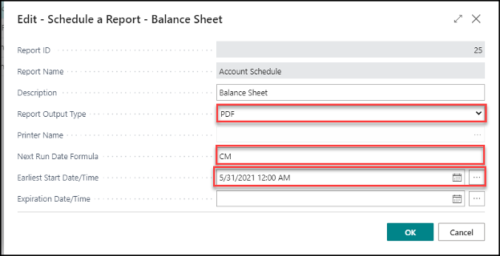
On the Edit – Schedule a Report page, you will now need to fill in the following fields:
- Description: Add a description that explains what the report is. For our example, we’re going with the simple description of “Balance Sheet.”
- Report Output Type: Select your preferred output type.
- Next Run Date Formula: Enter a run date formula for how often you need the report to run. In our example below we’ve used the formula “CM,” which stands for “current month(s).” For more information on date formulas, see Microsoft’s documentation on “Working with Calendar Dates and Times.”
- Earliest Start/Date Time: The next earliest Date will populate after you enter the run date formula.
- Expiration Date/Time: Leave this blank or add the last Date you want it to run.
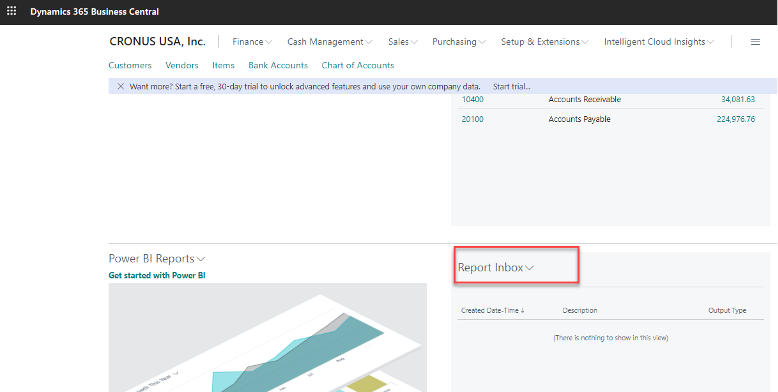
It’s as simple as that! Now every month your report will run automatically on the day you designated. When your report finishes running, it will appear in your Report Inbox on your Role Center in Business Central.
