Hello and welcome back to our series of blogs on RapidStart in Microsoft Dynamics NAV. For this week’s blog, we’re going to take a short detour to add new items to the Item Card.
Adding new records is similar to performing a mass update on existing records. You will follow the same eight steps as before. However, the trick to adding new records is to find an existing record that is very similar to what you want to add. For example, is the item purchased or manufactured? Will the existing and new records share the same posting groups? And so on. You then use the existing record as a template for the new records.
To add some new items for our example, let’s use the Cronus database and for the bike, let’s say we want to add in a few new tires (Cronus Item 1160 pictured below).
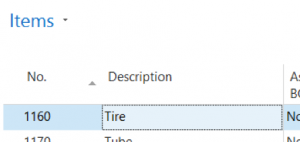
Similar to what we did in our previous blog posts, we will go to Configuration Packages and create a new configuration package to add in items.
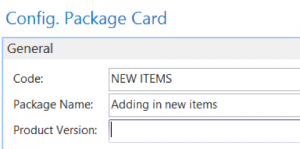
For this exercise we would select the “Items” table.

When adding in new items, this is the point where finding a similar item becomes important. We will not restrict the number of fields because to use the similar item as a template, we will need to copy almost all of the fields from one record to the next.
Important Tip to Create New Records in NAV RapidStart
Pay close attention to this part. I am going to show you how to filter a table so in the Configuration Package you are only pulling down some of the records and not all of them.
On the far right of the tables selected in the Configuration Package there is a gear box icon named Actions. You can either click on it or open by keying “Alt-F10.” When you click on the icon, please click on “Table” and then click on “Filters” (see below).
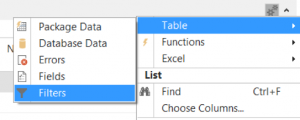
This is what you should see:

Please click on the “Field ID” so that a Fields Lookup box will appear. Select the field for “Items Numbers” (the first one listed in the image below). Then click on “OK.”
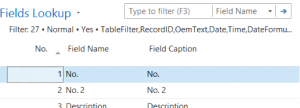
Now NAV will return to the Config. Package Filters box. At this point, we will go to the Field Filter box and type in our tire item number “1160.”

Please note that there are other ways to do this part depending on your needs. For example, under Field Lookup we could have instead chosen the Description field and used the filter “Tire” so that all records starting with “Tire” would have been selected.
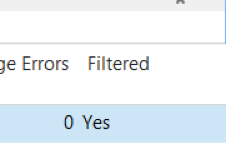
Once you have entered the tire item number, click on “OK.” You will return to the Configuration Package. Notice to the right side of the Item Table line that the column “Filtered” now says “Yes.”
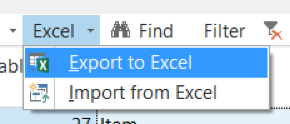
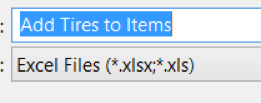
Please Export the package to Excel.
Now we have this in Excel:
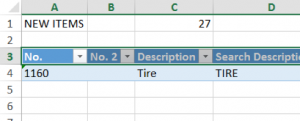
Notice only one record (instead of every item record) has been downloaded.
Now we want to add three new bike tires to our example: Mountain, Touring and Racing.
First go to the far right of the Excel file and click and grab the little blue handle in the lower right corner (image below).
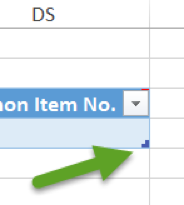
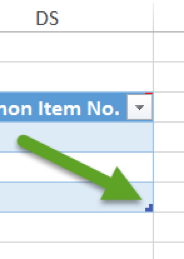
Drag it down so there are three records like this:
Next, select the current Tire record and copy to the two new lines.
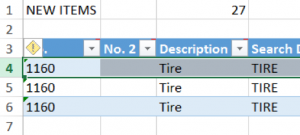
Now, we do not want to change Item 1160 because we are adding new items, not updating. With that in mind, please change the No. column to new item numbers and update the Description for each.
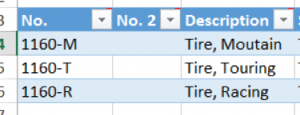
You will need to go column by column and update the rest of the columns as needed so each item has the correct values. Since we picked a similar item to copy for our template, many values will remain unchanged. For example, let’s assume we’re buying all these items from the same vendor so Vendor No. will stay the same. However, the Vendor Item No. will probably change. See what I mean?
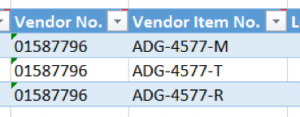
Once you have made all your changes to the new items, remember to save the file.
In our next blog post we will import this file into NAV, validate and apply the data to create new records in the database (similar to what we did for updating records). Then we will move on to final testing and production for both mass updates and new records. We’re almost there!


